
If you’re looking for a more durable and efficient valve for your plumbing system, a hand lever valve may be the perfect option. In this blog post, we’ll explore the benefits of a hand lever valve and how it can improve your plumbing system.
Why should you install a hand lever valve in your plumbing system?
There are many benefits to installing a hand lever valve in your plumbing system. The most obvious benefit is that it lets you shut off the water supply quickly and easily in case of a leak or other emergency. This can save you a lot of money in potential repairs and the hassle and inconvenience of dealing with a plumbing problem.
Another significant benefit of hand lever valves is that they are straightforward. This is especially helpful if you have young children or elderly family members who cannot manage traditional valves. With a hand lever valve, you only need to push down on the lever to shut off the water supply. This makes it much simpler and more user-friendly, which can be a big plus in an emergency.
Finally, hand lever valves are also relatively inexpensive, so they are a great option to save money on your plumbing system. While they may only be suitable for some applications, they can be an excellent choice for many homes and businesses.
The benefits of a hand lever valve
Many benefits come along with using a hand lever valve in your plumbing system. The most obvious benefit is that it gives you more control over the water flow in your pipes. With a traditional valve, you may have to use two hands to turn it on or off, which can be difficult if you’re trying to hold onto something else simultaneously. On the other hand, a hand lever valve can be easily turned on or off with just one hand, giving you more control and making it easier to use.
Another great benefit of a hand lever valve is that it’s much easier to install than a traditional valve. Traditional valves can be tricky to install, especially if you’re not a professional plumber. Hand lever valves, however, are very easy to install and can be done by anyone with basic DIY skills. This makes them an excellent option for those who want to save money on installation costs.
Finally, hand lever valves are also very easy to maintain. They only require a little maintenance and can often last many years without problems. This makes them an excellent choice for those who want a low-maintenance plumbing system.
How a hand lever valve works
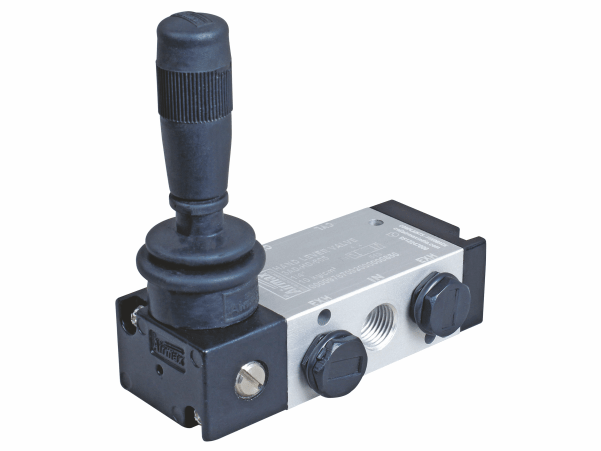
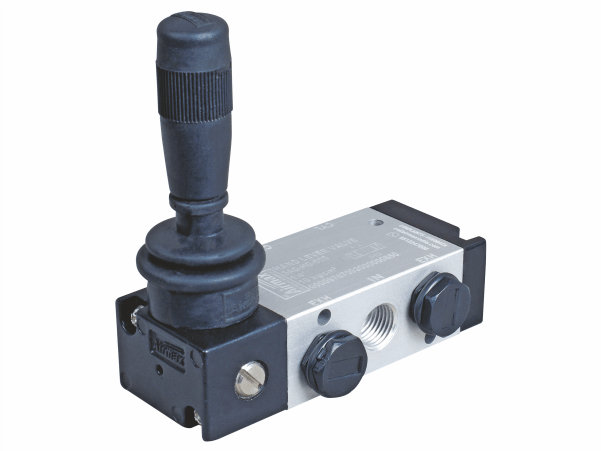
A hand lever valve is a type of valve that uses a lever to control the water flow. The lever is connected to a rod that goes through the center of the valve. When the lever is turned, the rod turns and opens or closes the valve. The advantage of this type of valve is that it is straightforward to control the water flow. You can turn the lever to the desired position, and the water will flow at the desired rate. Another advantage of this type of valve is that it is straightforward to install. You do not need special tools or skills to establish a hand lever valve. The only thing you need to do is to connect the lever to the rod and then tighten it with a wrench. Once installed, you can forget about it, and it will last many years without any maintenance.
Why a hand-level valve is a more durable option
A hand lever valve is a more durable option for several reasons:
They are made of more robust materials than other valves. This means that they can withstand higher pressures and temperatures without breaking.
Hand lever valves have been designed to last longer. They have fewer moving parts than other types of valves, which means that there is less wear and tear. This results in a longer lifespan for the valve.
Hand lever valves are easier to repair if they do break.
Because they have fewer moving parts, it is easier to identify and fix the problem.
How to install a hand lever valve
Installing a hand lever valve is a relatively straightforward process. The first step is to identify where the valve will be installed. Once the location has been determined, the next step is to measure the distance between the two ends of the pipe. This will give you an idea of how long the valve needs to be. The next step is to cut the line at the desired location. Once the pipe has been cut, the next step is to attach the valve to the pipe. This can be done by using screws or by welding them in place. Finally, you need to test the valve to ensure it works properly.